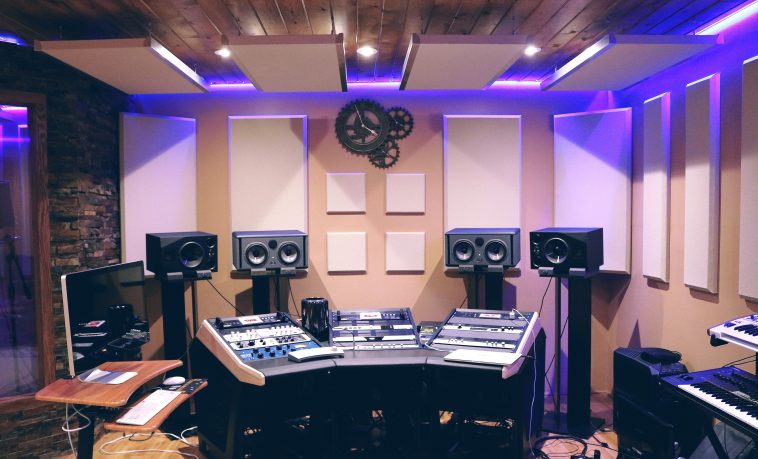
If you’re someone who wants to set up your own recording studio, but your bank account is looking a little low, you might be feeling a little depressed right now. It’s been your dream for a while to set up your recording studio and start making some amazing mixes. However, with your bank account looking this low, it might seem impossible to set one up. That’s not the case, though. There are plenty of ways that you can set up your own recording studio at affordable prices that are not going to absolutely kill your budget. Keep reading down below to learn more about how you can make this happen.
1. Purchase A Computer
The first big purchase that you’re going to have to think about when starting up your own recording studio is purchasing a computer. If you don’t already have one, then you’re going to have to make the choice between an Apple computer or one from Windows. Those computers that are operated on Windows are going to be more affordable than an Apple computer, but both definitely have their advantages and disadvantages. Make sure to compare between many different kinds of the computer so that you can make the best decision for your own budget.
PhotoFast is a call Recorder-Supports for iOS

2. Choose A Piece of Recording Software
So, once you have your computer that you’re going to be recording on, you’re going to have to get a piece of recording software to work with. Without this, you’re not going to be able to make any recordings. Make sure to shop around for the different software that you could use – there are plenty of them! You should check out what functionalities you’re going to get from various ones. The more expensive pieces of software are going to generally come with more functionalities and options for recording.
3. Purchase and Install an Audio Interface
Next up, you’re going to have to look at the audio interface. This is basically hardware that’s going to replace your computer’s sound card and allow you to add in external pieces of hardware, like microphones that you can use to record with. Remember to find practical information before purchasing and installing an interface.

4. Buy an Audio Mixer
Next up, you should be shopping around for an audio mixer that you can use. Now, you’re going to want to spend a bit of money on this one because an audio mixer is going to be the main piece of hardware you’re going to use when recording. The mixer is going to handle all of your inputs for recording and allow you to adjust whatever you want to. However, if you can’t afford an expensive mixer, then don’t worry! Those mixers that are more inexpensive are going to be just fine for any recording that you need to get done.
5. Choose Audio Monitors and Headphones for Your Studio
Next up, you’re going to need to get audio monitors and headphones for your studio. This is going to be how you listen to your recordings and get everything right. Without a high-quality audio monitor and pair of headphones on your side, your life is just going to be that much harder. However, when you look at third-party sites and shop around for the best models, you’re going to be able to find a good deal on these important pieces of equipment.

6. Decide on The Microphones
If you’re going to be running a pretty budget-tight recording studio at home, then you should be fine with just one microphone. You don’t have to go all crazy with the most expensive models because the inexpensive model is going to be just fine for your needs.
Instagram Introduces Stickers & Hands-Free Video
There you have it! When you want to set up your own recording studio, these are the tips that you’ve got to keep in mind. Good luck with shopping for all of your materials!


