Video editing is more than just cutting clips together. For freelancers, it’s a combination of creativity, organization, and efficiency. Each project comes with client expectations, deadlines, and the pressure to produce high-quality videos that captivate audiences. Luckily, AI tools can now help freelancers work faster, stay organized, and maintain high standards — from initial brief to final invoice.
In this guide, we’ll walk through a complete freelancer workflow for video editing, including practical advice, AI-assisted tips, and in-depth strategies that professionals use to streamline every stage of a project.

Step 1: Understanding Client Requirements & Collecting Materials
The foundation of any successful video project is understanding the client’s vision. Skipping or rushing this step leads to miscommunication, multiple revisions, and wasted time.

Start by carefully reading the client brief and identifying key points:
- The video’s purpose
- Desired style
- Format
- Length
- Target audience
- Deadlines.
Don’t hesitate to ask clarifying questions — clients often assume you know certain details that aren’t explicitly mentioned.
Next, collect all necessary materials, including
- Raw footage
- Logos
- Music
- Branding assets
- Reference videos.
Organize these in a dedicated folder, whether on Google Drive, Dropbox, or your preferred project management platform. Confirm all expectations in writing to ensure alignment.
AI Tools to Elevate This Step:
- Use ChatGPT or Claude to draft follow-up questions and ensure nothing is missed.
- Notion AI or Mem.ai can organize deadlines, asset lists, and client notes.
- AI file organizers and Runway can auto-sort footage, reducing the tedious task of manually renaming and categorizing files.
Pro Tip: Use AI to track client communications and asset uploads in one dashboard — it’s a lifesaver when managing multiple projects simultaneously.
You may also enjoy reading. A Simple 2-Hour Per Week Video Content Strategy for Small Businesses
Step 2: Rough Cut & Storyboarding
Once you have all assets, it’s time to create a rough cut. Think of this as the skeleton of your video — it defines pacing, sequence, and story flow.
Import your clips into editing software like Adobe Premiere, Final Cut Pro, or DaVinci Resolve. Begin arranging them in the desired order, trimming unnecessary footage, and focusing on the narrative arc. At this stage, perfection isn’t necessary; the goal is clarity in the story structure.
AI Tools to Assist:
- Runway, Pictory, or Magisto can auto-assemble rough cuts, especially useful for long interviews or raw footage.
- ChatGPT or Claude can suggest pacing adjustments or alternative scene orders based on storytelling principles.
Pro Tip: Experiment with multiple sequences quickly using AI suggestions to see which version best engages the audience before adding effects.
Step 3: Enhancing with Effects, Transitions, and Graphics
With the rough cut in place, it’s time to polish. Adding transitions, titles, motion graphics, and color grading transforms the video from a basic sequence into a professional piece. Audio balancing is equally crucial — mismatched sound or background music can distract viewers.

Checklist of Enhancements:
- Smooth transitions between clips
- On-screen titles, captions, and motion graphics
- Color grading and filters for consistent visuals
- Syncing audio and background music
AI Tools to Speed Up Editing:
- Runway, InVideo, or Canva AI can auto-generate captions and graphics.
- Adobe Firefly can create AI-generated visuals like background enhancements or special effects.
- Murf or ElevenLabs can produce professional AI voiceovers for narration.
Pro Tip: Use AI-generated suggestions as a base, but refine manually to ensure your unique style shines through.
You may also enjoy reading. 4 Ways To Monetize Your Skills Using Canva
Step 4: Quality Checks and Client Feedback
Before sharing your work with the client, perform a thorough quality check. Watch the video in full to catch errors in transitions, color, spelling in captions, or audio synchronization issues. Sending a polished draft for feedback saves time and demonstrates professionalism.
AI Tools to Help:
- Descript AI can auto-check captions, spelling, and even audio quality.
- ChatGPT or Claude can summarize client feedback for easier action.
- Notion AI or Trello AI can track revisions and manage feedback efficiently.
Pro Tip: Limit client revisions to one or two rounds. Too many rounds can drain creativity and prolong delivery.
Step 5: Exporting and Delivery
Proper exporting ensures your video looks flawless across platforms. Consider resolution, format, and aspect ratio specific to the client’s needs or the platform (YouTube, Instagram, TikTok, etc.).
AI Tools to Help:
- Runway or Pictory can automatically export in multiple formats.
- Kapwing AI generates platform-optimized versions, saving the hassle of manual resizing.
Pro Tip: Maintain presets for commonly used formats to accelerate future projects.
Step 6: Invoicing and Client Follow-Up
The workflow doesn’t end at delivery. Prompt invoicing and requesting client feedback are critical for maintaining professionalism and building long-term relationships.
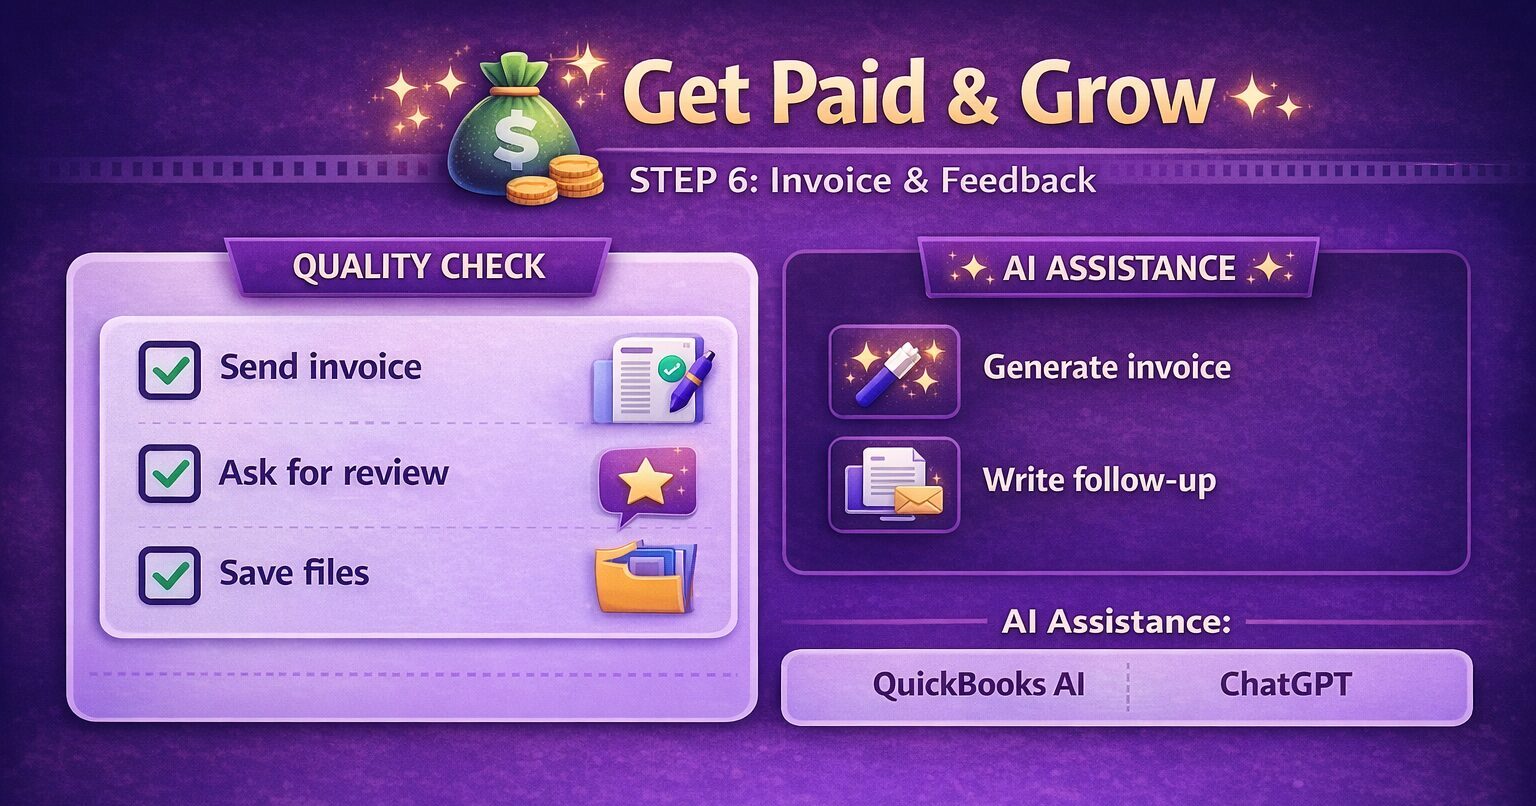
Checklist:
- Send invoice via PayPal, Upwork, or your preferred payment method.
- Ask for a review or testimonial.
- Organize and store project files for future reference.
AI Assistance:
- QuickBooks AI or ChatGPT can generate invoices instantly.
- ChatGPT can draft polite follow-up emails for testimonials.
Pro Tip: Automating follow-ups ensures you get feedback without seeming pushy and frees time for your next project.
You may also enjoy reading. 13 Proven Ways For Freelancers to Improve Their Productivity